Install GIT provider
![]()
Step 1
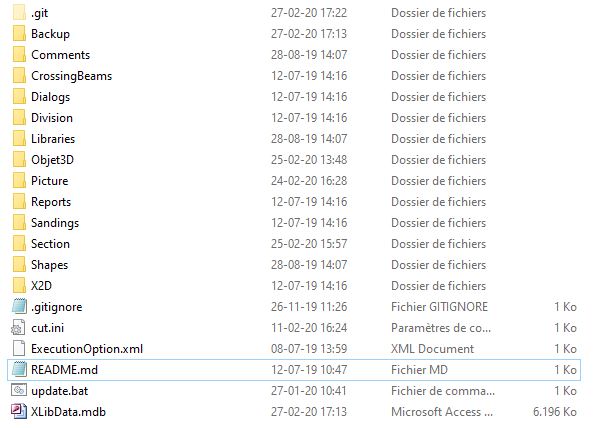
!!! the file "update.bat" must be present in the provider
This file contains the commands necessary to get the latest version of the provider by simply double-clicking on it.
- git reset --hard HEAD
- git pull
update.zip
Step 2
- Download git https://git-scm.com/downloads
Step 3
-
open Command Prompt (CMD)
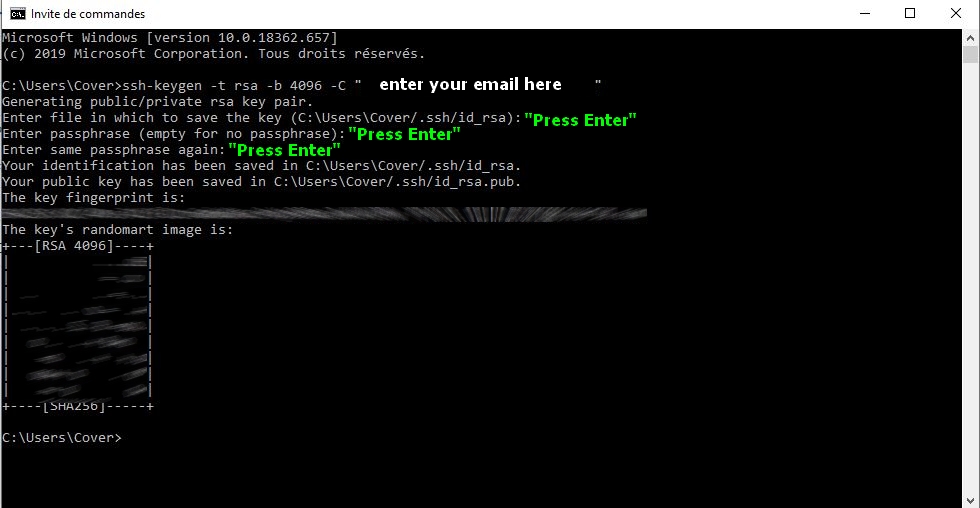
- create a Key with the following command line - ssh-keygen -t rsa -b 4096 -C "email@example.com" not need to add a password
- Press the enter key until you get the following result:
- create a Key with the following command line - ssh-keygen -t rsa -b 4096 -C "email@example.com" not need to add a password
Step 4
- open Windows explorer in this path and open the following file: id_rsa.pub
- %USERPROFILE%\.ssh
- copy the key
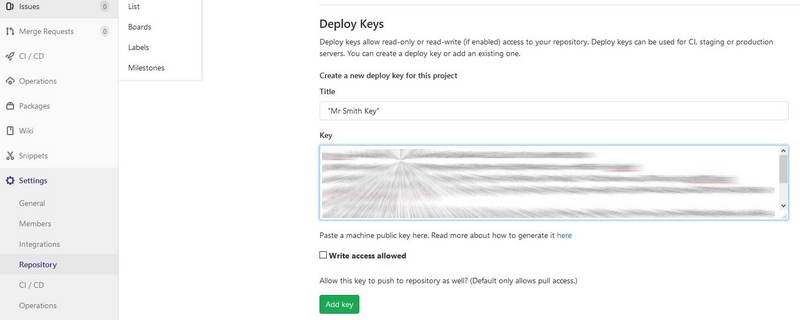
Step 5
- Add the key in the parameters of the repository to clone
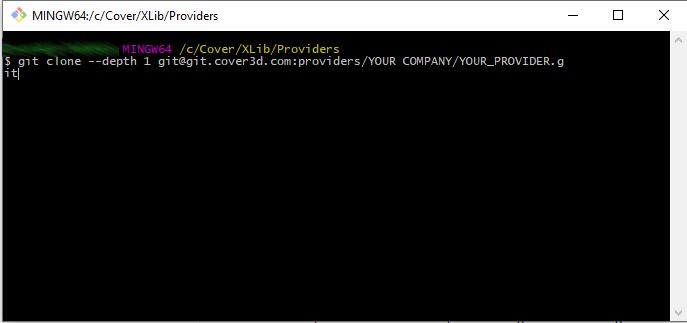
Step 6
- In the providers installation directory (take care to define the right "local_library_name" as the name of the library in the repo may be different of it's distributed name)
- C:\XLib\XLib\Providers
- right-click and select "Git Bash Here."
- Clone the provider on the computer using the following command:
- git clone --depth 1 git@git.cover3d.com:providers/YOUR COMPANY/YOUR_PROVIDER.git local_library_name
-validate and wait for the provider to be fully loaded
-You can also right-clic on the Update.bat to create a shortcut on the desktop
-you will be able to get the latest version available